
1. Start with a Styrofoam plate.
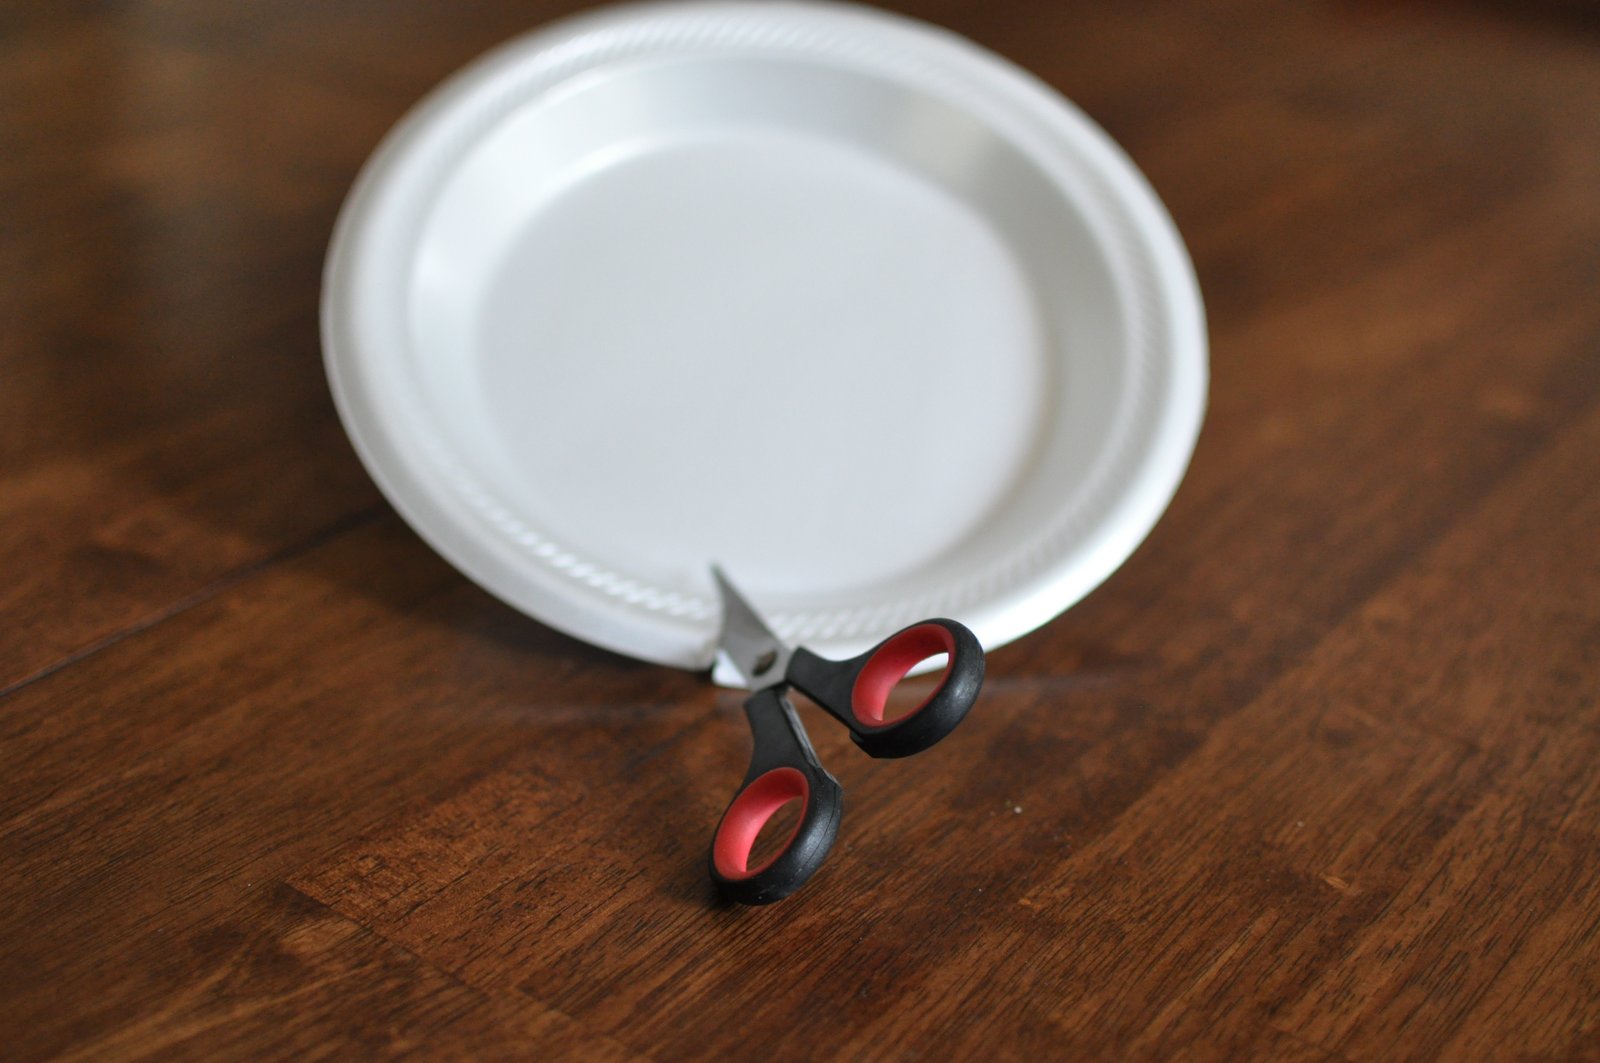

2. Cut out the center of the plate. You can cut it out in what ever shape you want, but keep it as big as you can.

3. Pick an image to put on your plate. Keep it a simple line drawing. If you can not draw, find a clip art that you like.


4. Use dark chalk, or a charcoal pencil to outline your image.

5. Wet the Styrofoam with water..

6. Place your image on top of the wet Styrofoam and press down evenly.

7. Remove image carefully.

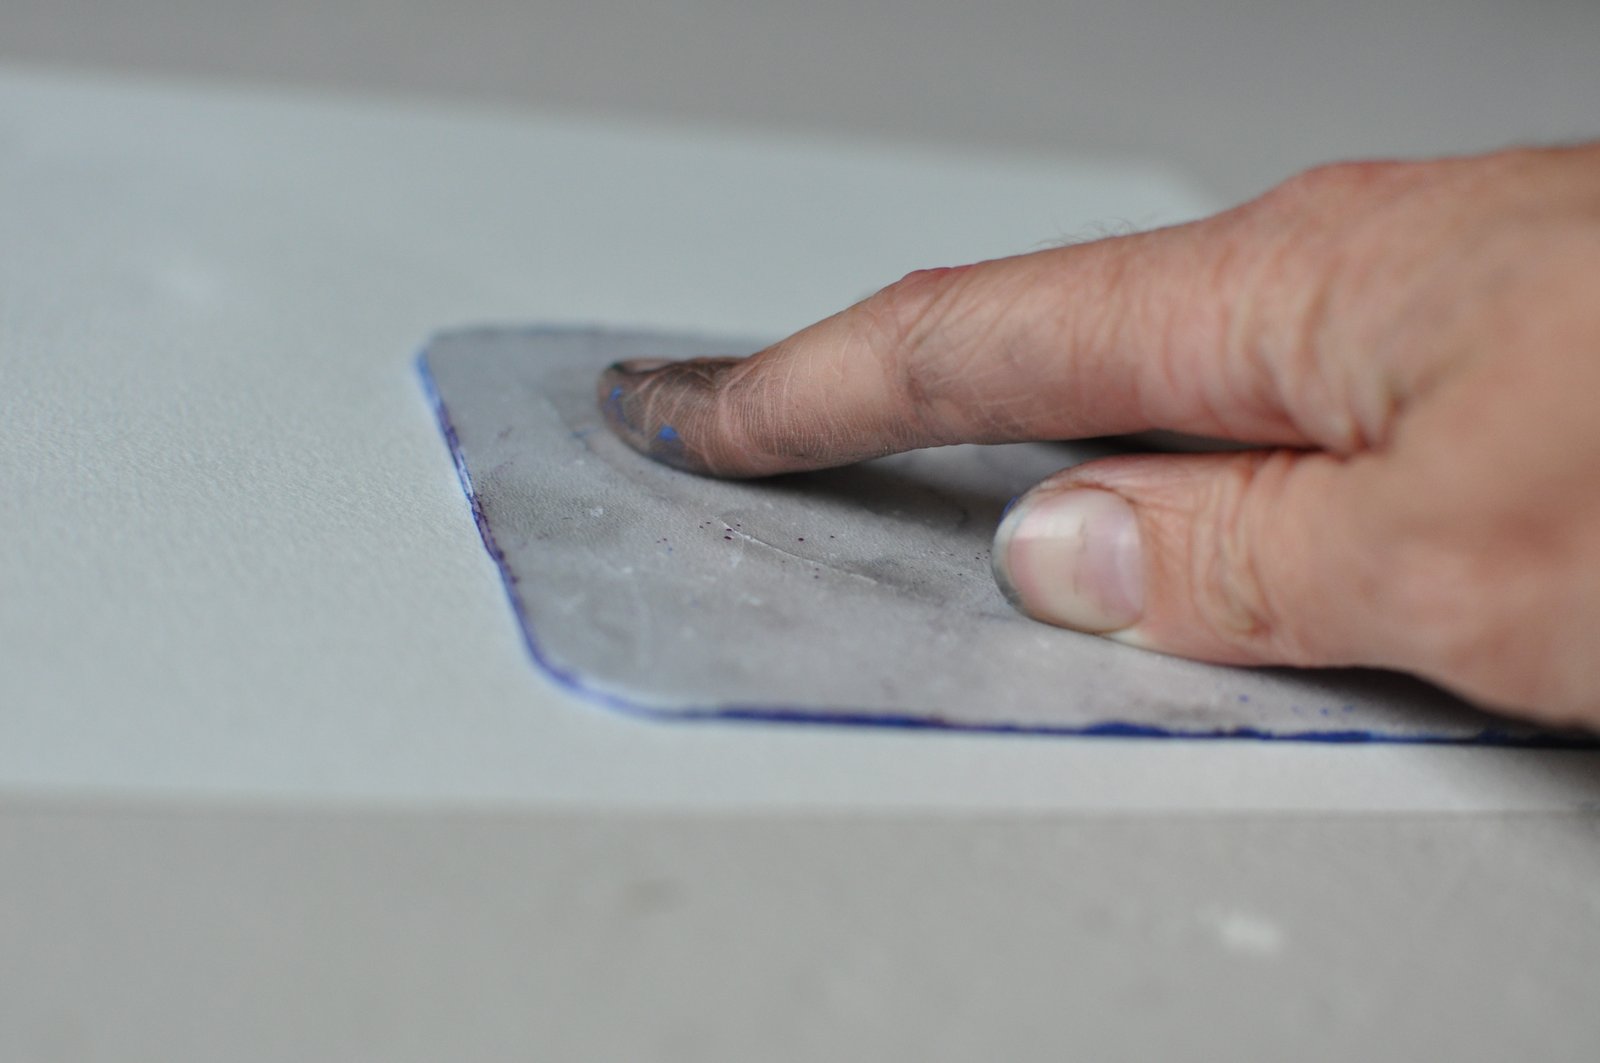
8. Find a sharp fine tipped tool. I just used a pencil.

9. Firmly press down on the Styrofoam with your utensil of choice following the image left by the chalk.

It should look something like this.

10. Liberally and evenly apply acrylic paint to your stamp. A roller may work better than a brush.
11. Firmly press your stamp onto your paper.

Ta-Da!

This is one I made years ago, but I still like it.

2 comments:
Could you maybe place the original image over the styrofoam and then trace over both (leaving the indention in the foam)?
We made some stamps with veggie trays from the grocery store. They're thinker than plates, so you can do (a little) more detail.
Love the pictures....and your CHEEKUN!
Yes, I used a meat tray from the grocery store for the chicken and it did work better because it was thicker. I also made one out of foam core board, and it worked even better.
Post a Comment